In this post you’re going to learn the MindSea team’s step-by-step process for bringing iPhone apps to life. That’s right—we’re pulling back the curtain!
Here’s the 3-step process that we’re going to walk you through today:
- Step 1: Start with your mobile app strategy
- Step 2: Plan your app’s UX (before you code)
- Step 3: Create your product roadmap
But before we dive in head first, there’s one question we have to answer:
Why should you listen to what we have to say?
For the past 10 years we’ve been building mobile apps for B2B and B2C brands—SaaS companies, news outlets and more. The apps we’ve built have been downloaded by millions of users.
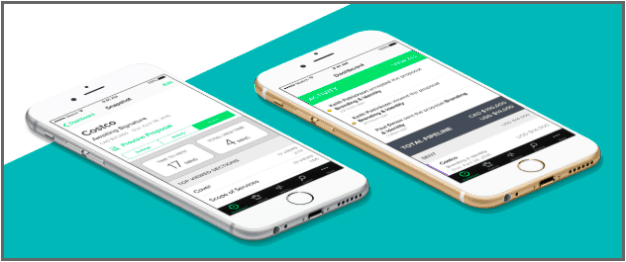
We’ve worked with SaaS companies like Proposify:
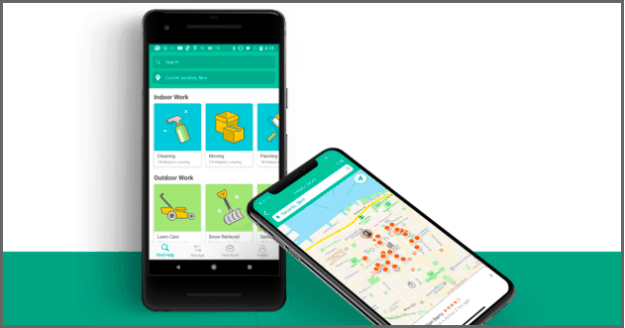
B2C brands like Adam Helps:
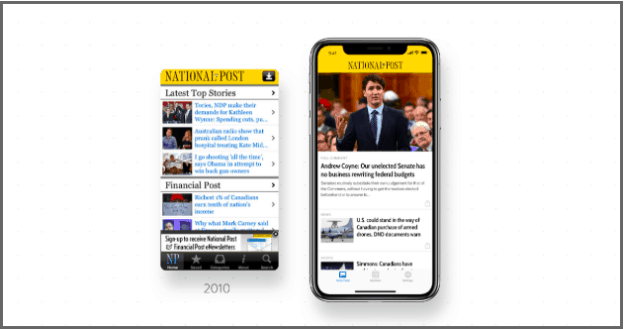
And news outlets like National Post:
What’s the one constant across all our mobile app projects?
Our 3-step process.
We used the same step-by-step process, which we call our Mobile App Blueprint, to build these and dozens of other successful iPhone apps.
So with that said, let’s dive in!
Step 1: Start with your mobile app strategy
If you want to build a successful mobile app, you have to start with a strategy.
You need to know what you’re building and why before you actually write a single line of code OR build your first wireframes.
There are three specific things to focus on during this step:
Establish primary goals for your mobile app
Before you jump in to the development process, take a step back to identify what you’re actually trying to achieve with your mobile app.
If you don’t set goals at the start, the rest of the process will be aimless—you won’t know whether you’re moving in the right direction.
Identify your target audience—and be specific!
Product market fit is massive.
You’ve heard this saying before:
“If you’re trying to be everything to everyone, you’ll be nothing to no one.”
When planning your mobile app, make sure you’re not trying to target the masses. Define your audience, and don’t go too broad.
But don’t go too far in the other direction either. If you target an audience that’s too small, you won’t see positive ROI in the long run.
Only create what’s worth creating
It’s good to have ideas—after all, that’s what led you to build an app.
But…
Too many ideas (and too many features) can leave you with a mobile app that does a lot of things—and does them all poorly.
How can you avoid that?
Focus on need. What does your audience need from your mobile app?
What functionality should it offer?
What problems should it solve?
What features must be included?
Do the work now to avoid doing twice as much work later when you have to rebuild the entire app. And remember: The first iteration does not have to be the only iteration, so don’t try to stuff everything into your first build.
Step 2: Plan your app’s UX (before you code)
Now that you know what your goals are and what features you need to include, the next step is writing code, right?
Not so fast.
Before you write a single line of code…
…you need to map out how the app will work and what the user journey will be. And then you have to test it all.
Here’s how we do it:
Outline the user journey screen by screen
One of the most important steps in building a mobile app is this:
Roadmapping how people will actually use the app.
If the user experience is poor, your users will be quick to hit “delete” and disappear for good.
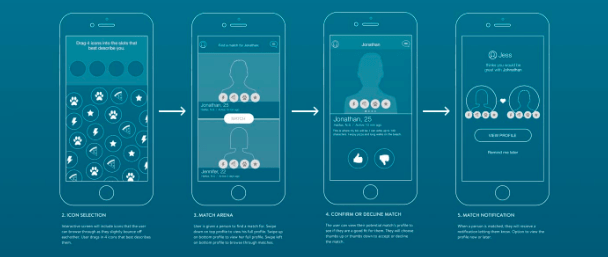
To ensure a seamless experience from start to finish, map the user journey screen by screen with sketches and wireframes (there are tools that can help). You may find some kinks that you otherwise wouldn’t have noticed.
Create a prototype and user-test key features
Here’s the thing:
Your first prototype is NOT going to be a perfect, downloaded-a-billion-times, award-winning masterpiece.
And that’s perfectly OK!
Building a mobile app prototype and user-testing the key features is the best way to spot bugs, obstacles and opportunities to improve.
If you wait until your app is finished to start testing, you’ll end up spending a lot of time (and money) tearing it down to make changes.
Fewer development revisions = lower development cost
The idea here is simple:
If you build your app before you plan your app, you’re going to end up wasting valuable resources re-creating a lot of it.
That’s because you won’t really know what you’re building at all.
Take the time to plan your entire app before you actually write a single line of code. Then you can use this plan to move to step 3.
Step 3: Create your product roadmap
Now that you know what your goals are for your mobile app, who you’re trying to reach, and what the user journey will look like, it’s almost time to start building.
(We’re almost there—promise!)
The final thing you need to do before you start coding is this:
Create your mobile app product roadmap.
The roadmap should lay out exactly what’s going to be done, when it’s going to be done, how long it’s going to take, and how much it’s going to cost.
Here are three things your roadmap will do for you:
Lay out a complete development plan for you (or your app builder)
A polished product roadmap will give you a complete plan for what you need to develop and when you need to develop it.
You’ll map out the technical requirements for your app and document any UX, development, or design help you’ll need along the way. That way you’ll have everything you need to start building the app yourself—or to trust the build to an experienced mobile app team.
Spell out the money and time requirements
Knowing how much your app is going to cost before you start building is essential. Otherwise, you risk falling down a rabbit hole of revisions that cost well beyond the original budget.
Use the information you’ve already documented about your app’s features and UX in order to create a timeline for the process.
How long will each step take?
How long will each feature take to build?
How long will testing take for each part of the app?
Once you map out how long the process will take, you can figure out how much your mobile app will cost and whether you’ll need outside help from a mobile app agency.
Strengthen your pitch to investors—before your app is even built
Here’s the best part:
With your proof-of-concept prototypes from step 2 and an in-depth roadmap of the development process, you can start building your presentation deck and pitching to investors.
The app doesn’t even have to exist yet!

Time to start building your mobile app
FINALLY, it’s time to dive in and start building.
You should now have:
- A mobile app strategy with well-defined goals and key features
- A detailed user journey
- Prototypes ready for user testing
- A roadmap for the entire project
The next step now is building the app.
Whether you’re flying solo, relying on an internal development team or working with a mobile app agency, you’re ready to bring your mobile app to life.
Now Over To You
That’s it: our process for building winning iPhone apps.
The curtain has officially been pulled back!
If you follow these 3 steps, you’ll set yourself up for success and massively reduce the amount of re-work and revisions along the way.
Here’s a quick recap of the 3 steps for you:
- Step 1: Start with your mobile app strategy
- Step 2: Plan your app’s UX (before you code)
- Step 3: Create your product roadmap
Looking for some help along the way?
Our Mobile App Blueprint process can help you go from brainstorm to blueprint in just three weeks. You’ll get to work with our award-winning designers, product strategists, and mobile app developers to create the mobile app of your dreams.
Talk to a product strategist today to get the ball rolling!